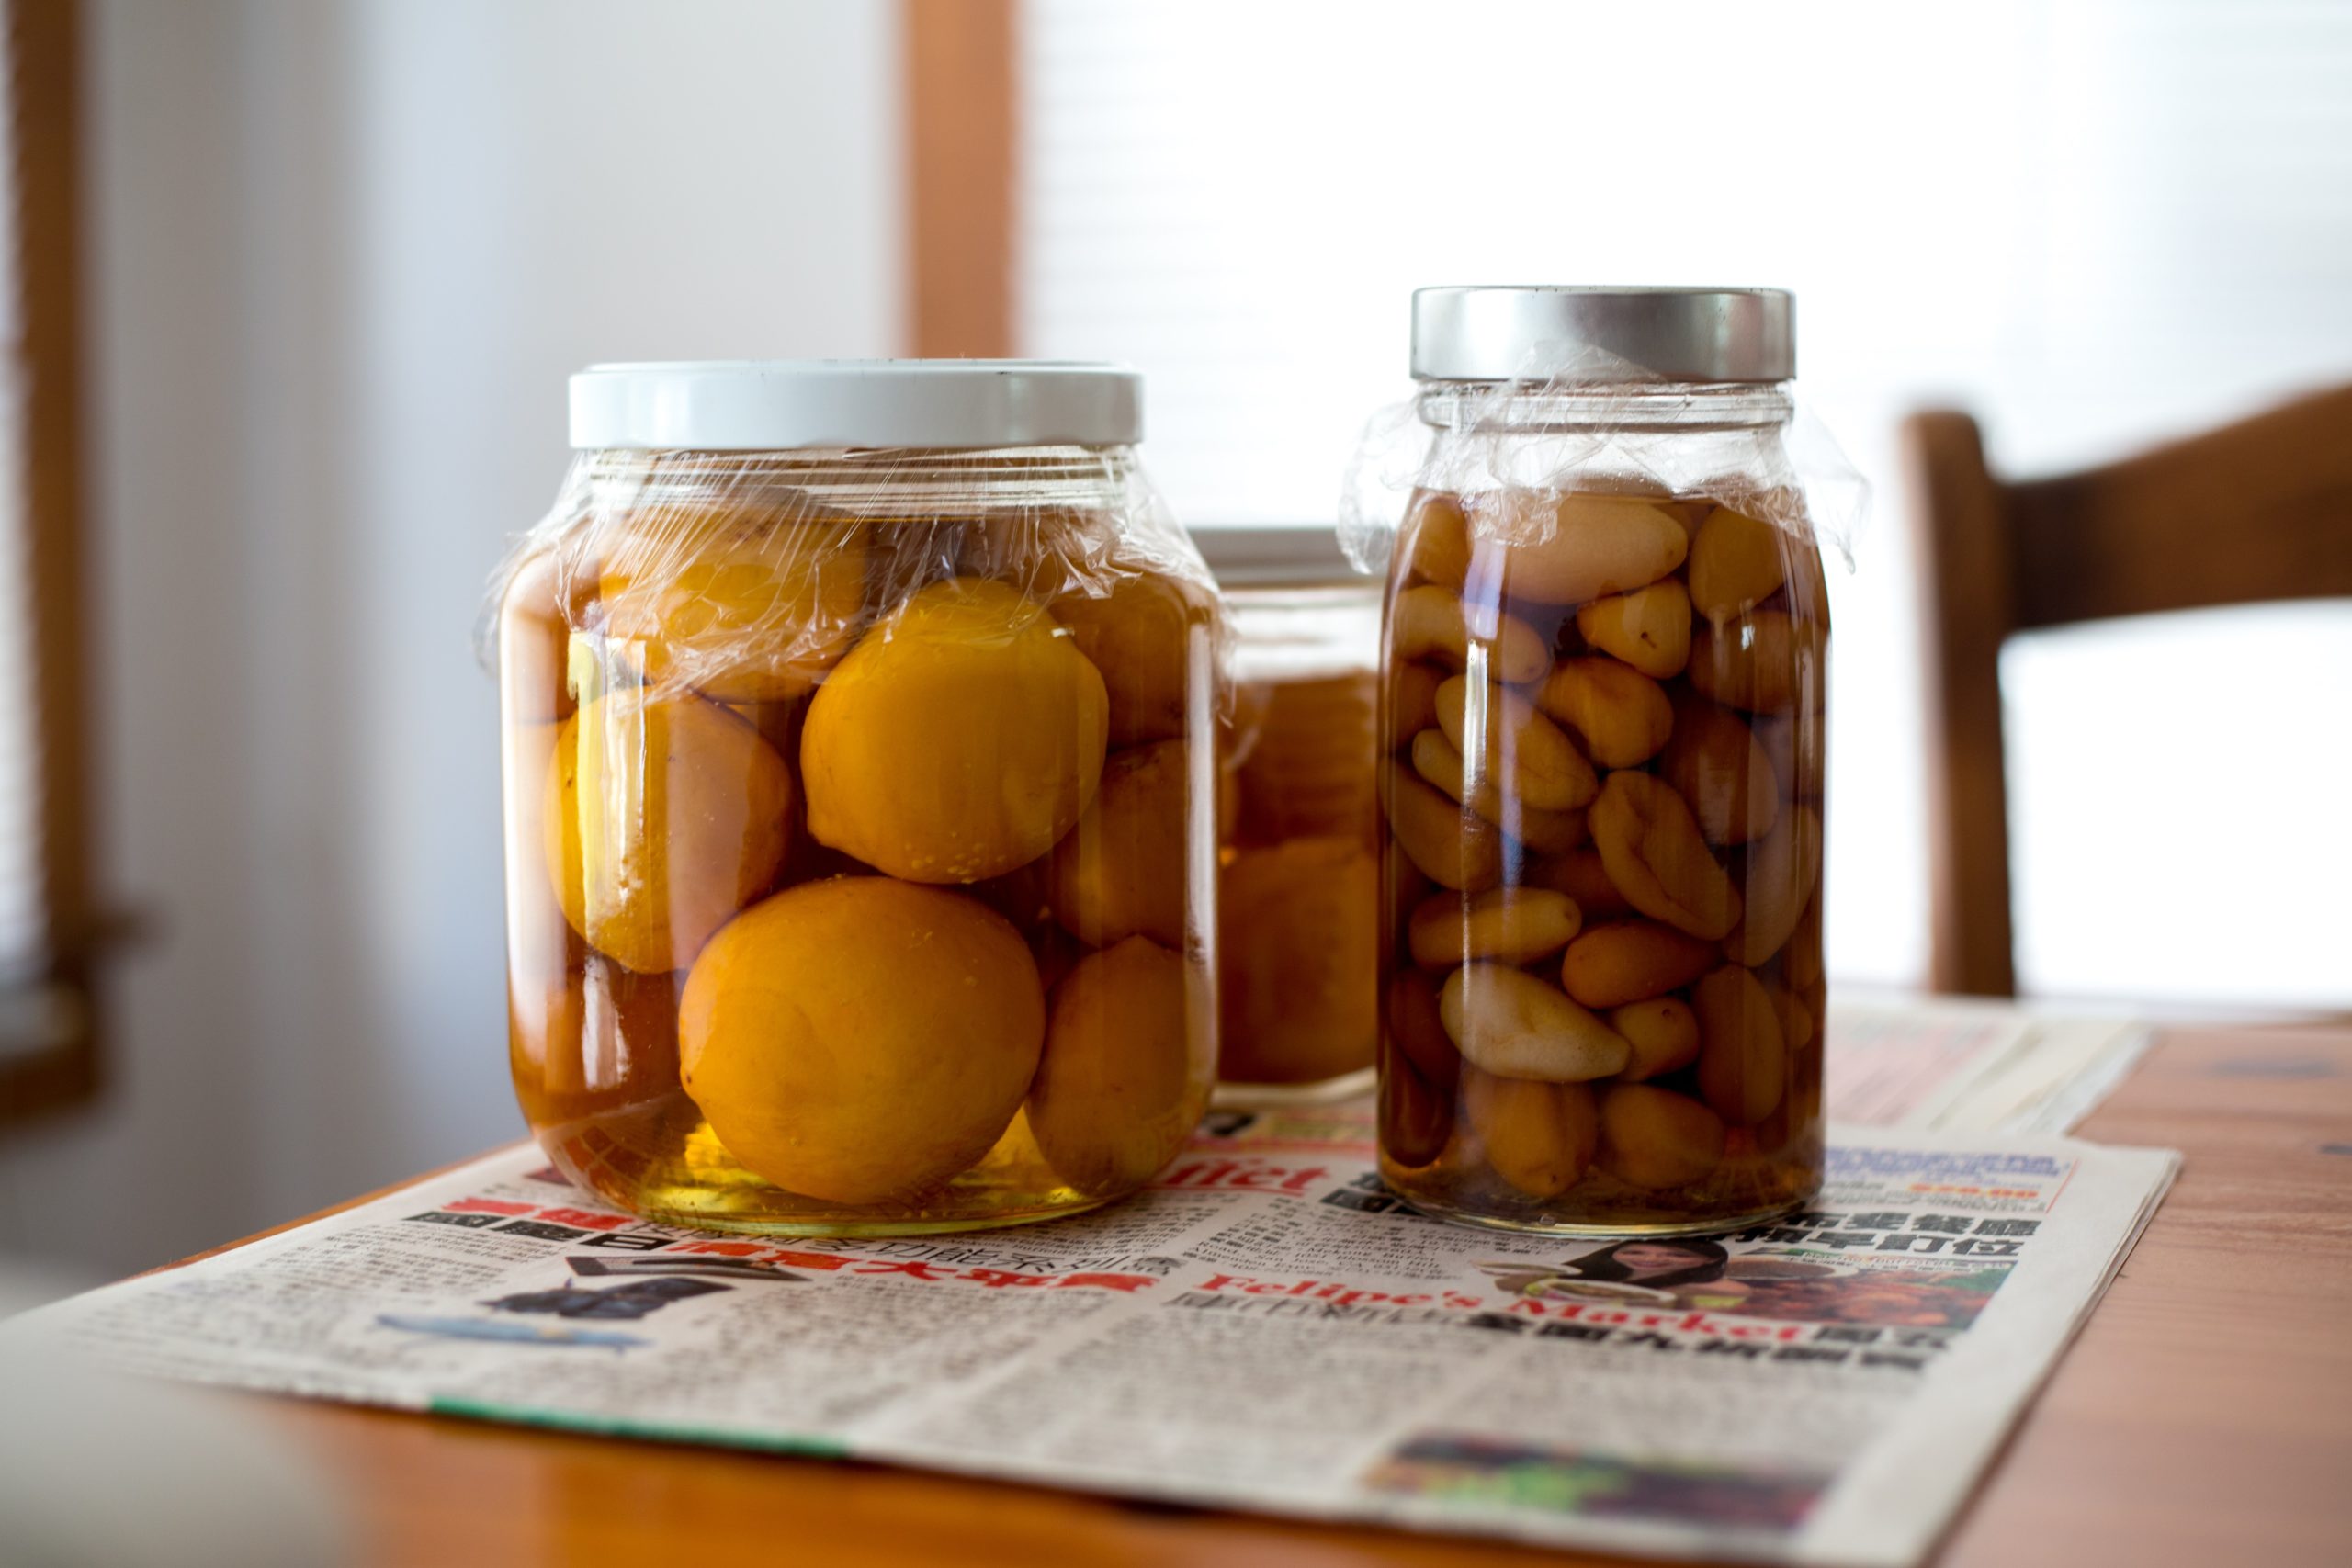
Tis’ the season for canning, preserving, stashing up for winter, and stocking the pantry with jars of summers colors and flavorful gifts.
We spent ALL day Saturday putting up the 20+ pounds of tomatoes we had from local farmers as well as what came out of our own garden and green house.
What did we do with it?
Canned of course.
How do you ask?
Fabulous question.
First I wanna be clear that canning takes TIME….aaaaaaaand totally WORTH IT. You wont regret eating tomato salsa over eggs with the fresh taste of summer when the snow is flying and a fresh tomato is nowhere to be found.
And the time that it takes is QUALITY time with family. Canning is a lost art and I am determined to bring it back.
And in doing my own research into what’s out there about canning info and websites I came across a bunch of sites that made it SO CONFUSING and take waaaaaaay longer than it needs to.
I promise it doesn’t have to be like that.
So give ‘er a go.
Step 1
Make the salsa
As many of you know I don’t measure things so this is a rough estimate of attempting to reproduce what happened on Sunday.
Ingredients
Method
- I’m lazy…errrrr, efficient in the kitchen, so I use a food processor to chop carrots, onions, and peppers. I HAND chop tomatoes cuz I don’t like them pureed, I like them chunky. You can if you want.
- I put all the stuff in a big ol’ bowl and stir. Add more or less of all of the ingredients depending on how you like your salsa.
Step 2
Sterilize the jars
We have a large canning pot
You can get it at most box stores for around $20. Its worth it cuz it has that wire rack to keep the jars submerged and up off the bottom of the pot. If you don’t get this pot then just make your own wire grill for the bottom of your stockpot. We did that for a while and it totally works and costs the price of some wire.
And then get mason jars of the size to your liking. We use all sizes from the 8 oz to the gallon.
Fill the pot with water and bring to a boil, put the jars in, with the lids removed, in and steam them for a few minutes. Oh, throw the lids in there too.
This sanitizes them.
Remove with tongs and place on a wire rack, like one of those cookie coolers.
Step 3
Cook the salsa
Put all your salsa in a big pot over medium high heat and then bring to a slow boil and cook for about 10 minutes.
Step 4
Fill jars and boil
Use a wide mouth funnel and fill your jars with the salsa. Be sure to leave about ½ inch of room for the salsa to breath and seal properly. Screw your tops on.
Step 5
Seal and Cool
Now place your jars back in your canning pot and use the handy dandy jar tongs, they make a difference and save you from burning your hands. Make sure the jars are fully submerged. Boil for about 20 minutes and then remove and let cool and seal. You will hear them popping as they seal.
Make sure they seal, and how you will know is to pressing down on the metal tops and they should NOT bounce back at you. If they DO, then put them back in the water and boil for a bit longer.
Step 6
Stash for later
How B-E-A-U-tiful!!
Step 7
Enjoy on a winter day.
This is the best. We pull them out when we do big dinner parties and serve the salsa as an appetizer and sometimes I’ll chop fresh cilantro into it to give it even more of a fresh flare.
Guests LOVE it. We love it. YOU’LL love it.
Other things we can are
- Pickles
- Pickled beets
- Pickled carrots
- Pesto
- Jam
- Relish
- Tomato sauce
- All sorts of salsas
Step 8
Repeat next year
Done.
Now go play the canning game.

Leave a Reply